Rise and Fall Method vs Height of Instrument Method
Rise and fall vs height of instrument levelling: both methods explained with a full worked example, arithmetic checks, and when to use each on site.
If you have ever stood behind a level on site and wondered why two engineers can reduce the same set of staff readings in two completely different ways, you have met the two classic methods of levelling reduction: the height of instrument (HI) method and the rise and fall method. Both start from the same readings and must end at the same reduced levels. The difference is in how they get there, how mistakes show up, and which one you should trust when the pressure is on.
This guide explains both methods in plain language, works a full levelling run through each one side by side, and finishes with a practical rule for choosing between them on real site work.
What levelling reduction actually does
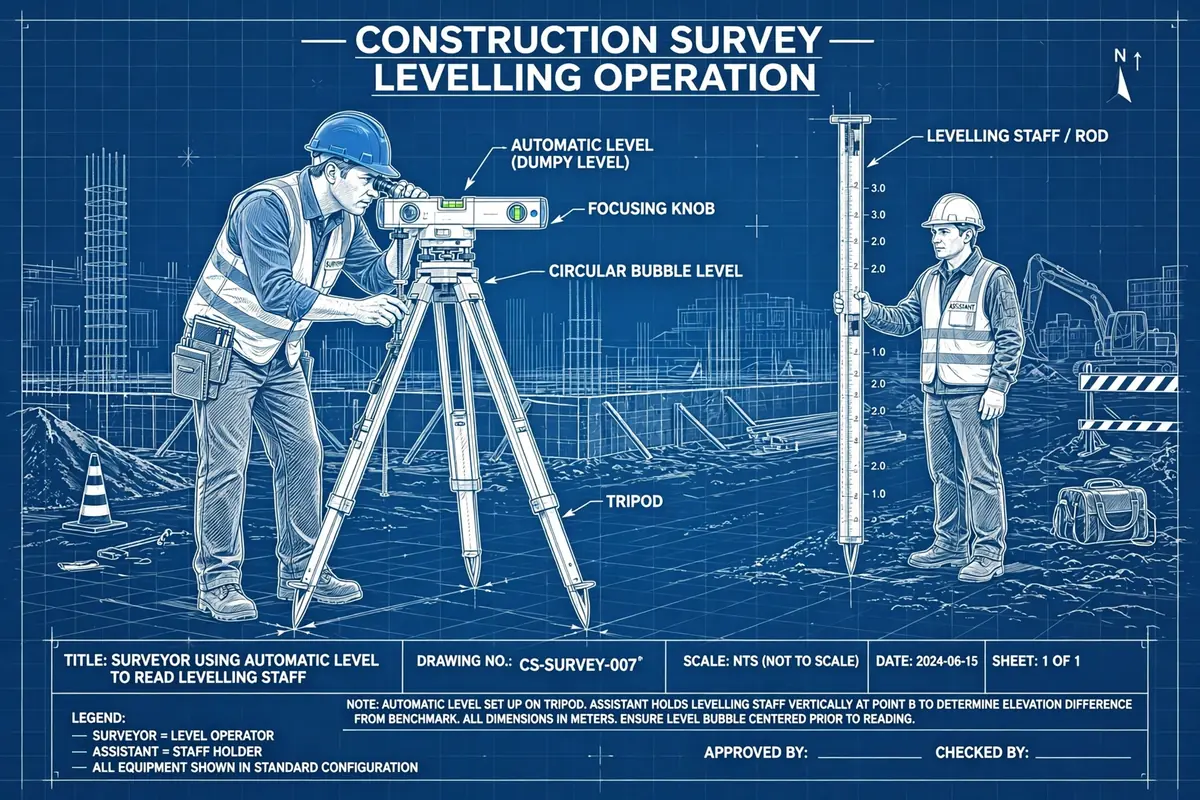
Levelling measures height differences, not heights directly. The instrument gives you a horizontal line of sight; the staff gives you a vertical reading from the ground point up to that line. A back sight (BS) is the first reading after setting up the instrument, taken on a point of known level. A fore sight (FS) is the last reading before moving the instrument, taken on a point whose level you are about to fix. Any reading in between is an intermediate sight (IS).
Reduction is the arithmetic that turns those raw staff readings into reduced levels (RLs) — heights above your datum, usually a benchmark (BM) of known RL. Get the reduction wrong and every level, foundation depth and drainage fall that follows it is wrong too, which is why the arithmetic checks matter as much as the fieldwork.
The height of instrument method
The HI method, also called the collimation method, works out the height of the instrument's line of sight first, then subtracts each staff reading from it.
For each instrument setup:
- Height of instrument (HI) = RL of the back-sight point + back-sight reading.
- RL of any point = HI − staff reading at that point.
That is the whole method. Once you know the HI for a setup, every point observed from that setup is a single subtraction away. It is fast, which is why it is popular for profile levelling and setting out, where a run may have dozens of intermediate sights from one setup.
The HI method has one arithmetic check: the sum of back sights minus the sum of fore sights must equal the last reduced level minus the first reduced level. In symbols, ΣBS − ΣFS = last RL − first RL. That check catches a mistake in the overall rise or fall of the run, but it does not check the intermediate sights at all. An error in a single IS reading can pass through unnoticed, because intermediate points never enter the check.
The rise and fall method
The rise and fall method never works out the height of the instrument. Instead, it compares each staff reading with the one before it and asks a simple question: did the ground rise or fall between these two points?
- If the new reading is smaller than the previous one, the ground has risen by the difference.
- If the new reading is larger than the previous one, the ground has fallen by the difference.
Each new RL is then the previous RL plus a rise, or minus a fall. The method is slower because every point needs its own rise or fall calculation, but it buys you a much stronger check: ΣBS − ΣFS must equal Σrise − Σfall, and both must equal last RL − first RL. That double check covers every single reading in the run, including intermediate sights. A blunder anywhere shows up in the arithmetic, which is why the rise and fall method is the standard choice for precise work and for any run that will be used as a check on other work.
Worked example: one run, both methods
A two-setup levelling run starts from a benchmark with RL 100.000 m. The staff readings, in order, are:
- Setup 1: back sight on BM = 1.850 m; intermediate sight on point A = 1.420 m; fore sight on point B = 0.985 m.
- Setup 2: back sight on point B = 1.720 m; intermediate sight on point C = 1.890 m; fore sight on point D = 1.050 m.
Height of instrument method
Setup 1: HI = 100.000 + 1.850 = 101.850 m. Then RL of A = 101.850 − 1.420 = 100.430 m, and RL of B = 101.850 − 0.985 = 100.865 m.
Setup 2: the instrument moves and sights back on point B, whose RL is now known. HI = 100.865 + 1.720 = 102.585 m. Then RL of C = 102.585 − 1.890 = 100.695 m, and RL of D = 102.585 − 1.050 = 101.535 m.
Check: ΣBS = 1.850 + 1.720 = 3.570 m; ΣFS = 0.985 + 1.050 = 2.035 m; ΣBS − ΣFS = 1.535 m. Last RL − first RL = 101.535 − 100.000 = 1.535 m. The check passes.
Rise and fall method
Working through the readings in order, comparing each with the one before it:
- BM to A: 1.850 − 1.420 = 0.430 m rise, so RL of A = 100.000 + 0.430 = 100.430 m.
- A to B: 1.420 − 0.985 = 0.435 m rise, so RL of B = 100.430 + 0.435 = 100.865 m.
- B to C: 1.720 − 1.890 = 0.170 m fall (note the new setup's back sight is compared with the previous fore sight), so RL of C = 100.865 − 0.170 = 100.695 m.
- C to D: 1.890 − 1.050 = 0.840 m rise, so RL of D = 100.695 + 0.840 = 101.535 m.
Check: Σrise = 0.430 + 0.435 + 0.840 = 1.705 m; Σfall = 0.170 m; Σrise − Σfall = 1.535 m, which matches ΣBS − ΣFS = 1.535 m and last RL − first RL = 1.535 m. Both methods give identical reduced levels — A 100.430 m, B 100.865 m, C 100.695 m, D 101.535 m — exactly as they must.
The one trap in the rise and fall method is the change of setup. When the instrument moves, the first comparison after the move is between the new back sight and the previous fore sight, not between two readings from the same setup. Miss that step and point C comes out wrong. In the example, comparing 1.720 with 1.890 gives the fall of 0.170 m; treating them as unrelated readings breaks the chain.
Which method should you use?
For most day-to-day site work, the honest answer is: use the HI method for speed when you have many intermediate sights and the levels are not critical, and use the rise and fall method whenever accuracy matters or the run will stand as a record. In practice, that means:
- Use the rise and fall method for benchmark transfers, control levelling, foundation levels, drainage falls and any run you will check against later. The full arithmetic check is worth the extra minutes.
- Use the HI method for longitudinal and cross sections, contouring and setting out, where a setup carries many intermediate sights and a small error in one of them will not sink the job.
- Never mix the two in one reduction. Pick one method for a run and reduce the whole run that way, so the checks stay meaningful.
One more site habit is worth building whichever method you use: reduce the readings in the field book on site, before packing up. A failed check while the instrument is still standing costs five minutes to re-observe; the same failure discovered back in the office costs a return visit. And always close your run — finish on a known benchmark or return to your starting point — so the closing error, not just the arithmetic, gets tested.
Common mistakes to watch for
- Swapping back sight and fore sight at a change point. The fore sight of one setup and the back sight of the next are both taken on the same change point, but they belong to different setups. Mixing them up corrupts every level after that point.
- Forgetting that a larger staff reading means lower ground. It feels backwards until it clicks: the staff reading is measured up from the ground, so a bigger reading means the ground is further below the line of sight.
- Skipping the arithmetic check. Both methods have checks for a reason. A check that passes does not prove the fieldwork was perfect, but a check that fails proves something is wrong — and finding that out on site is always cheaper.
- Booking readings out of order. The rise and fall method in particular depends on strict reading order. A single transposed pair of readings produces plausible-looking but wrong levels.
Frequently asked questions
Do both methods always give the same reduced levels?
Yes, if the arithmetic is correct. They are two ways of reducing identical readings, so any difference between their results is proof of a calculation error in one of them.
Which method is more accurate?
Neither is inherently more accurate in the field — accuracy comes from the instrument, the staff work and the care taken. The rise and fall method is safer because its arithmetic check covers every reading, so blunders are caught rather than carried forward.
Can I use the HI method for a fly levelling run?
You can, but fly levelling exists to transfer a level quickly between two points, usually with only back sights and fore sights and no intermediate sights. With no IS readings to check, the HI method's weak spot disappears, so either method serves equally well there.
What does a failed arithmetic check mean?
It means the reduction contains an error — a mis-added column, a wrong rise or fall, or a transposed reading. Re-add the columns first, then re-derive the rises and falls. If the check still fails, the field readings themselves may contain a booking blunder and the run should be re-observed.
Calculations and engineering guides are for planning and educational reference. Verify final designs against applicable codes with a licensed Professional Engineer.