Residential Building Handover Checklist: A Complete Guide
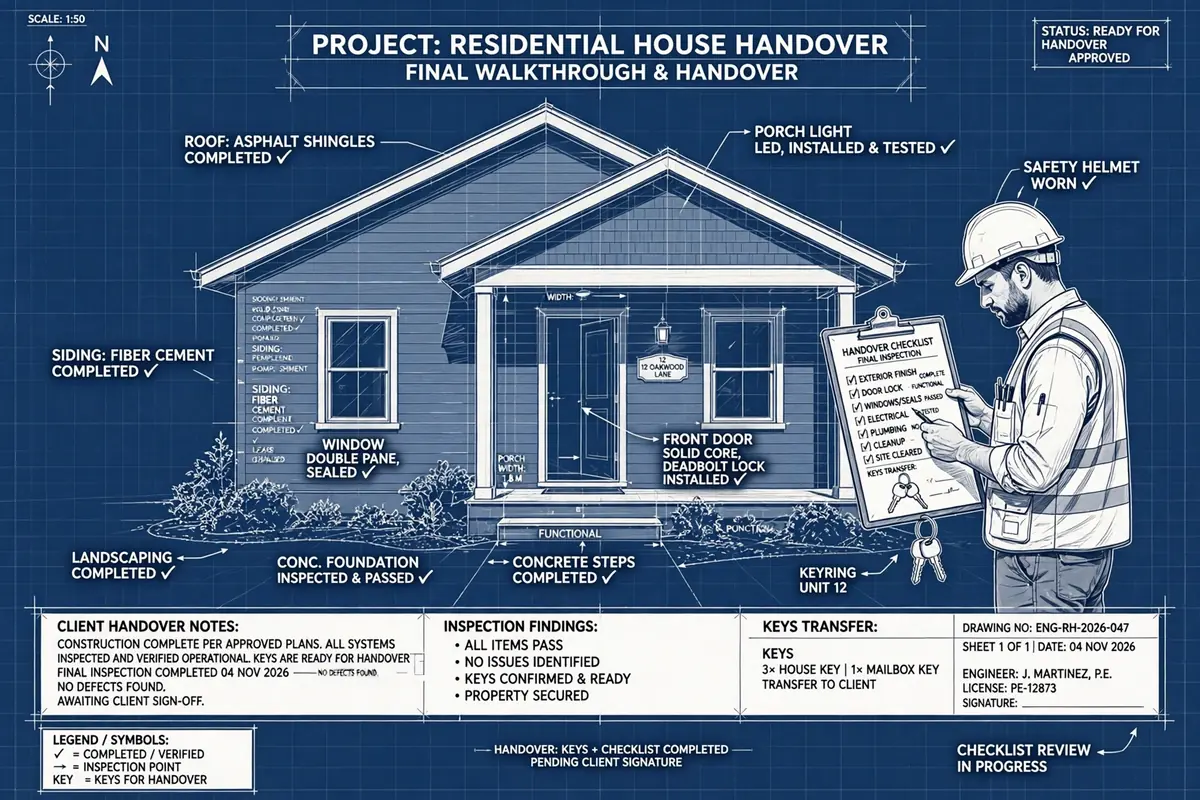
A complete residential handover checklist: snagging, services testing, documents, warranties and final payments — accept the keys with confidence.
Handover day is the moment a building stops being a construction site and starts being somebody's home. It is also the moment when any defect you fail to record becomes your problem to argue about later. A proper handover is not a handshake at the front door — it is a structured inspection, a stack of documents, and a signed record that protects both the builder and the owner. This guide walks through the whole process the way an experienced site engineer runs it, room by room, system by system.
Whether you are the contractor handing a house over or the owner accepting the keys, the same rule applies: if it is not written down, photographed and signed, it did not happen.
What Handover Actually Means
In construction contracts, handover — often called practical completion — is the point at which the works are substantially complete and fit for occupation, even if a small list of minor defects remains. That distinction matters. A house does not need to be flawless to be handed over, but it does need to be safe, functional and substantially in line with the approved drawings and specifications.
Three things happen at handover:
- Possession passes from the contractor to the owner, along with responsibility for insurance, security and day-to-day maintenance.
- A snag list is agreed — the written record of every defect, incomplete item and finishing fault found during the final walkthrough.
- The defects liability period starts — typically 6 to 12 months, during which the contractor must return and rectify defects at no cost to the owner.
Never accept a verbal handover. Every item below should end up in a signed document with dates, photographs and a named person responsible for each outstanding item.
Before the Walkthrough: Documents to Demand
A good handover starts before anyone picks up a clipboard. Ask for the document pack first, because missing paperwork is itself a snag. At minimum, the pack should contain:
- As-built drawings — the final drawings showing what was actually built, including any changes made during construction, with the locations of buried services, reinforcement and drainage runs marked.
- Completion and occupancy certificates from the local authority, confirming the building complies with the approved plans and building regulations.
- Test certificates for electrical installation, plumbing pressure tests, gas lines (where applicable) and any fire detection system.
- Material warranties and guarantees — roofing membrane, waterproofing, windows, appliances, water heaters and any proprietary system installed.
- Operation and maintenance manuals — how to run the heating or cooling system, the water pump, the solar inverter, the alarm and any automated gates or shutters.
- Keys, remotes and codes — every door, window, meter cupboard, gate and garage, labelled, plus alarm codes and appliance manuals.
If the contractor cannot produce the test certificates, do not sign the handover until they are provided. A house without a valid electrical test certificate is a house you cannot insure properly.
The Final Walkthrough: Room by Room
Walk every room in daylight, and again with the lights on. Open and close every door and window. Run every tap. Flush every toilet. Switch on every light, fan and socket. The checklist below is the one I use on site; tick each item off room by room rather than trusting your memory at the end.
Structure and Finishes
- Walls and ceilings: look for cracks, hollow plaster (tap the wall — a hollow sound means debonded plaster), paint runs, uneven patches and stains that could indicate a leak above.
- Floors: check tiling for cracked tiles, lippage (one tile edge sitting higher than its neighbour) and hollow-sounding tiles; check timber and laminate for gaps, squeaks and damaged boards.
- Cracks: hairline shrinkage cracks under 0.3 mm wide in plaster are usually cosmetic, but a crack that runs diagonally from a door or window corner, or one you can fit a coin into, needs a structural opinion before you sign.
- Doors and windows: every door should latch cleanly without forcing, every window should open, close and lock, and seals should sit tight all round with no daylight showing through.
Wet Areas: Kitchens and Bathrooms
- Run each tap at full flow and check drainage speed — slow drainage on day one only gets worse.
- Check under every sink and basin for leaks at traps and joints, and look for water staining inside vanity units.
- Test the shower: hot water temperature, pressure, and whether water stays inside the tray or screen rather than running across the floor.
- Check tile grout lines for gaps, especially at wall-to-floor junctions and around baths, where failed grout is the first step towards a leak into the room below.
- Confirm extractor fans run and actually vent outside, not just into the ceiling void.
Services and Safety
- Electrical: test every socket with a plug-in tester or a phone charger, every switch, and every light fitting. Trip the residual current device (RCD) test button — it must cut power instantly. Check the consumer unit is labelled circuit by circuit.
- Plumbing and water: confirm the main stopcock location, check the water tank and pump (if any) run quietly and cut in and out correctly, and confirm hot water reaches every outlet within a reasonable time.
- Fire and safety: smoke and heat detectors should be present, powered and tested; confirm their locations match the approved layout.
- External works: gutters and downpipes clear and discharging away from the walls, drainage covers seated, driveways and paths free of trip hazards, boundary walls and fences complete.
Snagging: How to Record Defects Properly
A snag list is only useful if it is specific. "Paint bad in bedroom" helps nobody. Each snag entry should record the room, the exact location, the defect, and a photograph. For example: "Master bedroom, south wall, 1.2 m from west corner — 400 mm vertical crack in plaster at skirting level, photo 14."
Agree three things for every snag before you leave the site:
- Category — urgent (safety, water ingress, non-functioning service) versus cosmetic (paint touch-ups, minor scratches).
- Rectification date — a firm date for each category, not "soon". Urgent items within days, cosmetic items within two to four weeks.
- Access arrangement — how and when the contractor's team will return, and who will be present.
Worked Example: Retention Money at Handover
Most building contracts hold back a percentage of the contract sum as retention — security that the contractor will return to fix defects. Here is how the numbers typically work on a residential contract.
Suppose the final contract sum is $320,000 and the contract sets retention at 5%:
- Total retention held during construction: 5% × $320,000 = $16,000.
- At practical completion (handover), half the retention is released: $16,000 ÷ 2 = $8,000 paid to the contractor.
- The remaining $8,000 stays held through the defects liability period.
- At the end of that period, once all snag items are rectified and certified, the final $8,000 is released.
Now suppose the final snag list contains 14 items, and the contractor rectifies 12 of them but leaves 2 — a leaking shower seal and a faulty extractor fan — outstanding at the end of the defects period. If the cost of having those two items fixed by another contractor is $1,150, the owner may deduct that sum from the final retention release: $8,000 − $1,150 = $6,850 released, with $1,150 retained against the outstanding work. The arithmetic is simple; what protects you is having the snag list, the dates and the photographs to back it up.
One caution: retention percentages and release rules vary by contract form and jurisdiction — check your own contract rather than assuming the 5% / half-and-half split above. The principle, though, is universal: never release the final retention until the snag list is genuinely clear.
Final Account and Payments
Handover is also the point to settle the money. Before making the final payment, confirm:
- The final account is agreed in writing, including the value of any variations (extra work instructed during construction) and any deductions.
- All interim payment certificates have been reconciled against the final account — no double-counted variation, no unpaid certified sum.
- Retention figures match the calculation above, with the amount held and the release dates stated in writing.
- Any advance payment or material-on-site payment has been fully recovered through interim certificates.
Paying the final balance before the snag list is agreed removes your strongest lever for getting defects fixed. Hold the final payment until the handover certificate is signed and the snag list is attached to it.
After the Keys Change Hands
Handover is not the end of the contractor's obligations. During the defects liability period, report defects in writing — email, not a phone call — with photographs, and keep a copy of every report. If a defect is urgent, such as a water leak, report it the same day and note the time; most contracts require the contractor to attend urgent defects within 24 to 48 hours.
At the end of the defects period, request a final joint inspection. Walk the snag list together, tick off rectified items, and only then sign the final completion certificate that releases the last retention. That final signature is the true end of the project — treat it with the same care as the first.
Common Handover Mistakes to Avoid
- Signing under pressure: a contractor in a hurry to reach practical completion may push for a signature on the spot. Take the document away, read it, and sign it the next day if you need to.
- Accepting "we'll fix it later" without writing it down: if it is not on the snag list, it does not exist as far as the contract is concerned.
- Skipping the services tests: a socket that was never tested, a drain that was never run at full flow, a detector that was never tripped — these are the defects that surface at the worst possible moment.
- Losing the paperwork: keep the handover pack, warranties and certificates together in one file. You will need them for insurance claims, resale, and the next contractor who works on the house.
Frequently Asked Questions
What is the difference between practical completion and final completion?
Practical completion is handover: the building is fit for occupation with only minor defects outstanding, and the defects liability period begins. Final completion comes at the end of that period, when all defects are rectified and the final retention is released.
Can I move in before handover is signed?
You can, but it weakens your position. Once you occupy the house, it becomes harder to prove which defects existed before occupation and which were caused by use. If you must move in early, do a full written and photographed inspection first and record it as an interim snag list.
How long should the defects liability period be?
Six to twelve months is standard for residential work. Twelve months is preferable because it covers a full cycle of seasons — a roof leak that only shows in heavy rain, or movement that only appears in a dry spell, may not reveal itself in six months.
What if the contractor refuses to return for snagging?
Put the request in writing with a deadline, referencing the contract clause. If there is still no response, the retention money exists precisely for this situation: engage another contractor, keep the invoices, and deduct the cost from the retention, following the procedure in your contract.
Do I need a professional snagging inspection?
Not always, but for a new-build purchase it is money well spent. An independent inspector finds the defects an untrained eye walks past — failed damp-proof courses, inadequate loft insulation, unsealed service penetrations — and their written report carries weight in any dispute.
Handover done properly takes a few hours and saves months of argument. Walk slowly, write everything down, photograph it all, and sign nothing you have not read. The house will be yours for decades; the handover is the one day you get to make sure it is handed over properly.
Calculations and engineering guides are for planning and educational reference. Verify final designs against applicable codes with a licensed Professional Engineer.